Follow the instructions below to setup your email on Outlook 2013.
1. Open Microsoft Outlook 2013
2. Go to: File > Info > Add Account
3. Select the checkbox “Manually configure server settings or additional server types” – click Next
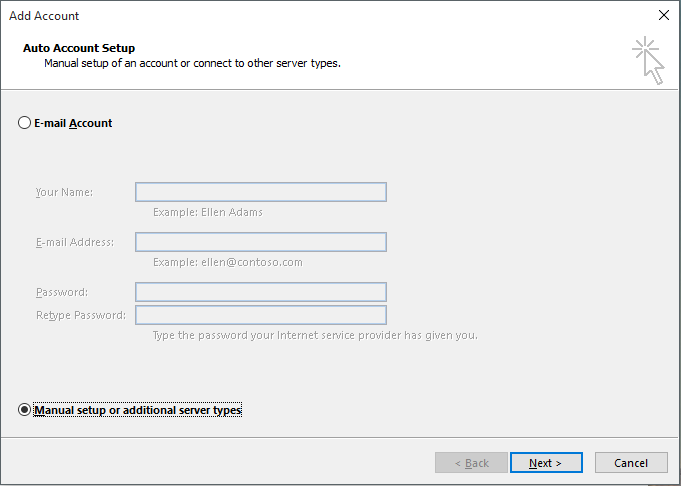
4. Select the POP or IMAP option and click Next

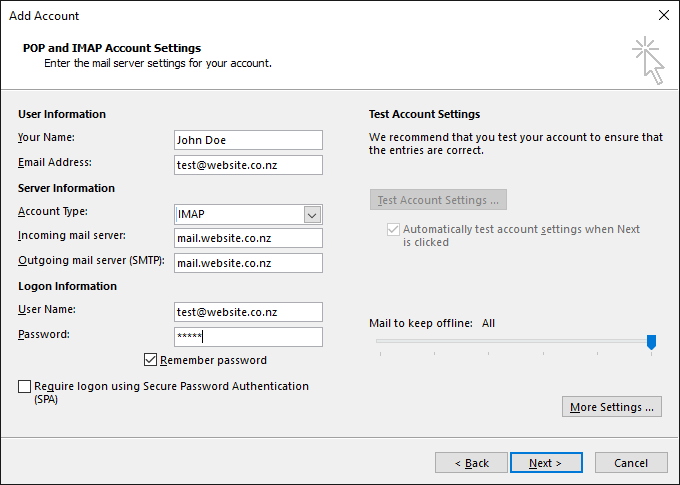
5. Specify the following:
- Your name
- Your Email Address
- Account Type (POP or IMAP)
- Incoming Mail Server: mail.ramsu.co.nz
- Outgoing Mail Server: mail.ramsu.co.nz
- User Name = your full email address
- Password = the mailbox password you entered when creating the mailbox in the Control Panel
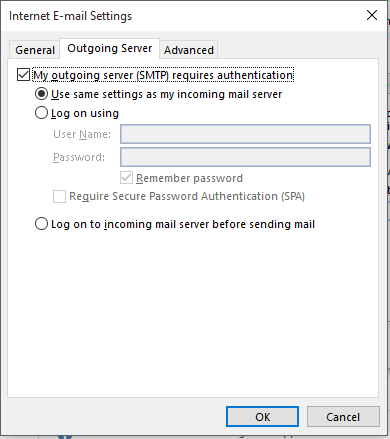
6. Click ‘More Settings’, open the ‘Outgoing Server’ tab and tick the box beside ‘My outgoing server (SMTP) requires authentication’:
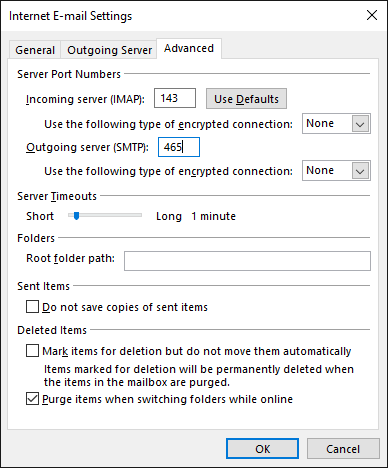
7. Change to the ‘Advanced’ tab, and change the Outgoing server (SMTP) port to: 465 or 587 (try either).
Leave encryption = None (see General email settings for SSL)
8. Click OK
9. Click Next
10. Click Finish
IMAP Only:
If you find that your IMAP folders are not displaying after adding your email account you will need to follow these additional steps:
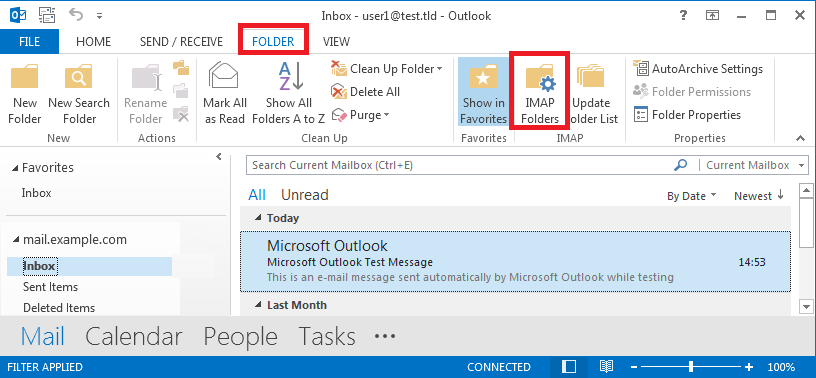
1. Click on the “Folder” tab in the top navigation pane.
2. Click the “IMAP Folders” button.
3. Uncheck “When displaying hierarchy in Outlook, show only the subscribed folders.”.
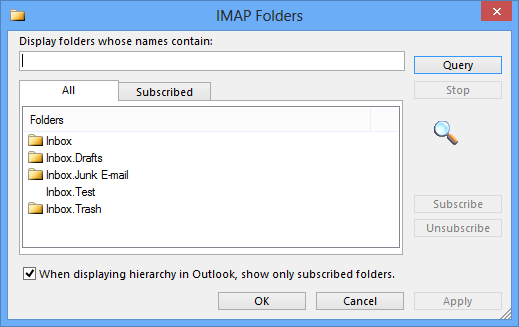
4. Click OK.
5. Click on the “Send/Receive” tab in the top navigation pane.
6. Click “Send/Receive All Folders” to do a force Send/Receive within Outlook.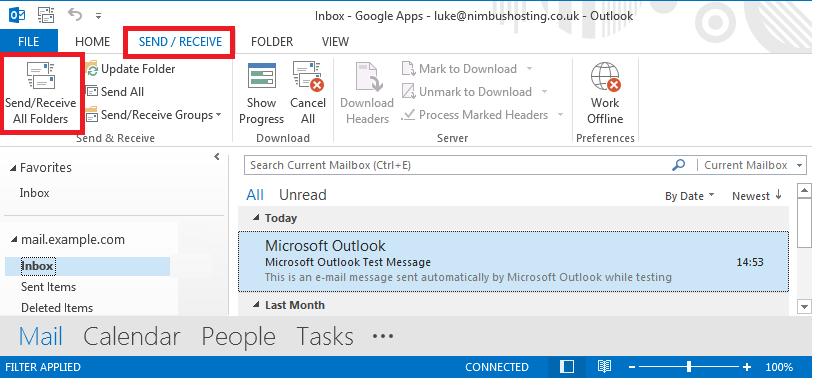
7. Your IMAP folders will then download and appear in the left hand pane in Outlook.
Last Update: July 31, 2020